Producing a stippled image with Gimp
<<< Obtaining a TSP solver || Producing a stippled image with Gimp (TSP art) || Generating TSP art from a stippled image >>>
To produce TSP art of an image, you will first want to generate a stippled rendition of the image. That is, you need to stipple the image. The stipples themselves will then be the cities in the Travelling Salesman Problem to be solved. The traveller will move from stipple to stipple on your canvas and their path will be your TSP art.
The easiest way to stipple your image is with a stippling extension to your image editor. If your image editor lacks a stippling extension, you will need another means to generate stipplings. This document explains how to do so with Gimp, the GNU Image Manipulation Program, which may be downloaded from,
In this discussion, the screen shots and results were produced using version 2.6 of Gimp running on a Mac. In what follows, step by step directions are provided. The basic plan of attack will be to
- Change the image to grayscale,
- Make the image "washed out",
- Dither the image to black and white, and finally
- Save the image in a PBM (Portable Bit Map) file.
If the third step produces too many stipples, then before the second step, first reduce the image's dimensions to 50 or 25% of its original size.
- [ Too many stipple points produce a line too densely packed for pleasing results. The distance between nearby segments of the line, when plotted with your Eggbot, will be smaller than the width of the lines themselves. You will end up with an unappealing solid blob of ink rather than distinct, well defined lines. ]
Now for the detailed steps. [Note that on a Mac, Gimp's menu does not appear along the top of your screen but rather along the tops of the individual GImp windows.]
1. Open your image file in Gimp
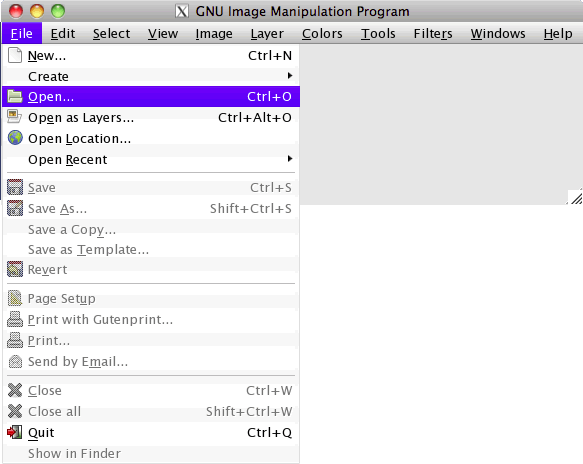
After launching Gimp, open your image file using the "Open..." item under the "File" menu item,
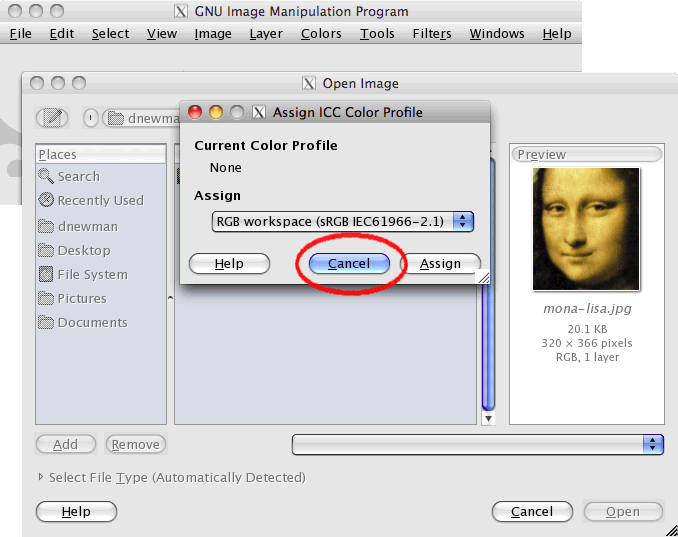
A file selection dialog will appear. Navigate to the file containing your image and click the "Open" button. [Note that on some platforms, Gimp supports drag-n-drop to select and open an image file.]
Upon opening your image file, Gimp will likely toss up a question like the one shown below. You can click "Cancel" or "Assign". For our purposes, either choice is okay.
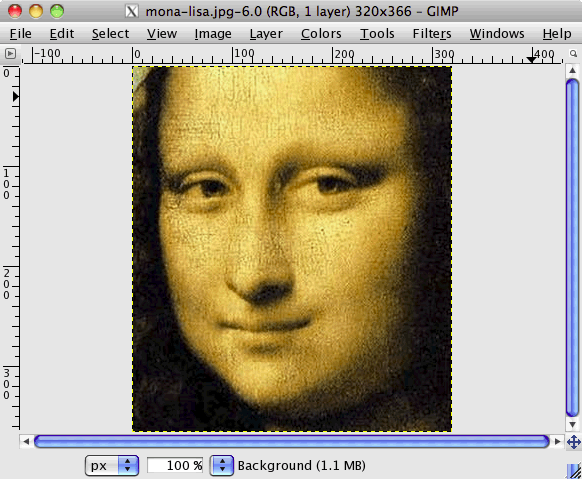
Once the image file is opened, you should be presented with a new Gimp window displaying your image,
2. Convert your image to grayscale
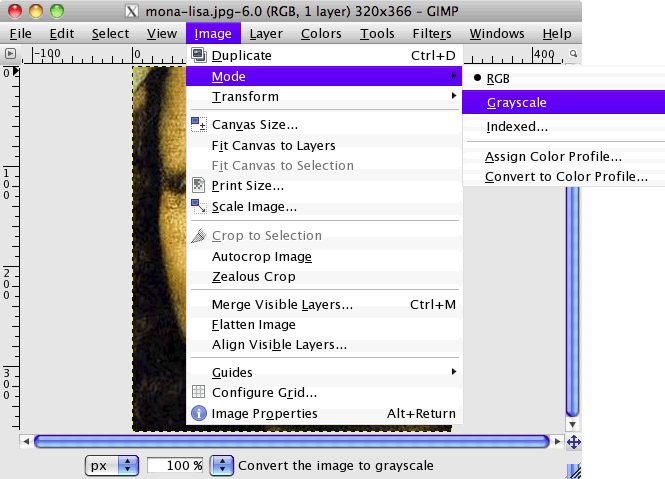
From the menu bar in the window with your opened image file, select the "Image" menu item. From that drop down menu, select the "Mode..." item and then "Grayscale".
Once you've done that, your image should then appear in grayscale,
[
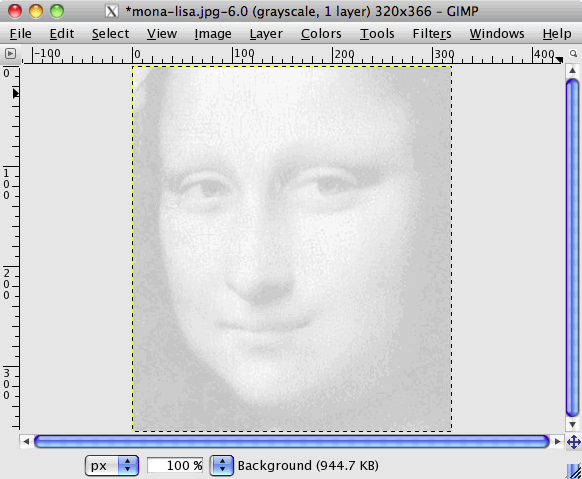
3. Wash out the image
Now, from the "Colors" drop down menu, select the "Levels..." item.
[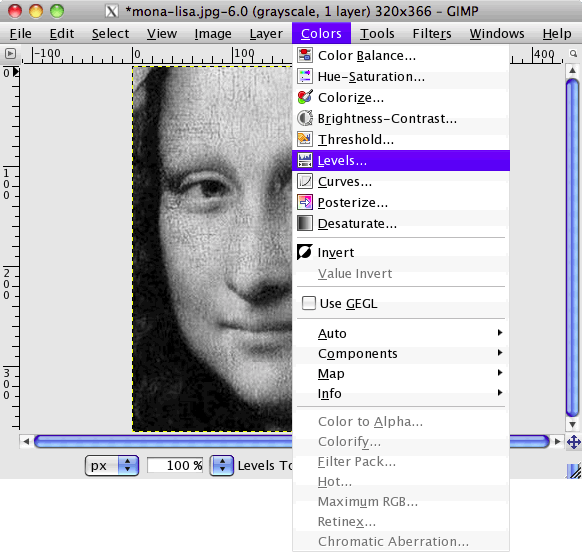
That will bring up a new window with the title "Adjust Color Levels". In that window, you want to set the "All Channels" output level to a large number in the range 180 to 245. You can do that by entering a numeric value in the circled field or by sliding the triangular slider indicated with the red arrow.
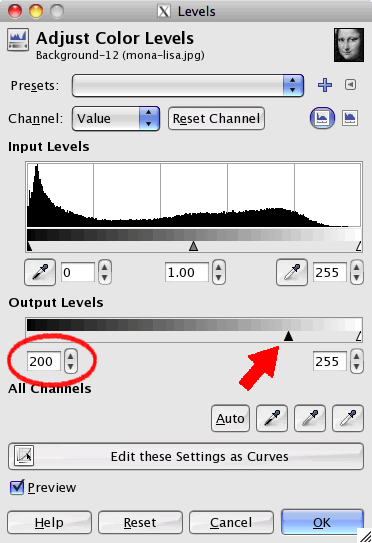
The larger the output level value, the more washed out the resulting image. The more washed out the image, the fewer the number of resulting stipple points in the later steps. The next figure, shows the result of adjusting the output level to 200.
4. Stipple the image
To produce the stipples we will convert the image to black and white, dithering it in the process. In graphics, "dithering" is the process of intermixing colored pixels from the allowed palette of colors to produce what our human eyes will interpret as an intermediate color not found in the palette. When the palette only contains black and white pixels, dithering attempts to mix differing amounts of black and white pixels so as to produce the appearance of shades of gray.
To convert the image to black and white, use the "Mode..." item in the "Image" drop down menu. Select the "Indexed..." mode,
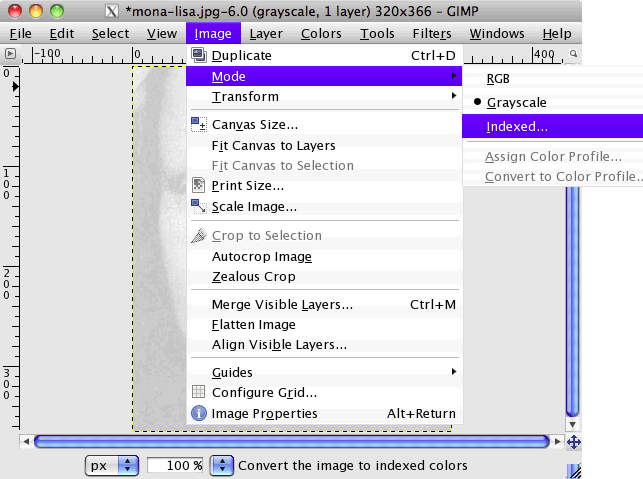
The "Convert Image to Indexed Colors" window will then appear. In this window, select "Use black and white (1-bit) palette" for the colormap. Also, for dithering select "Floyd-Steinberg (normal)".
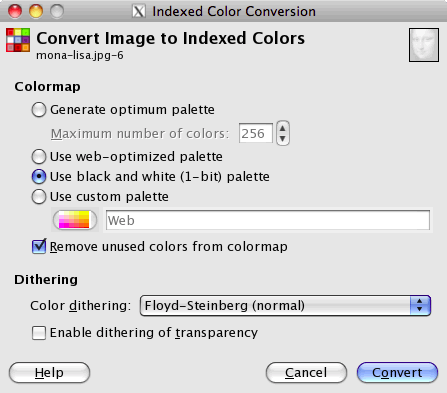
After making those two selections, press the "Convert" button. Your image will now appear stippled.
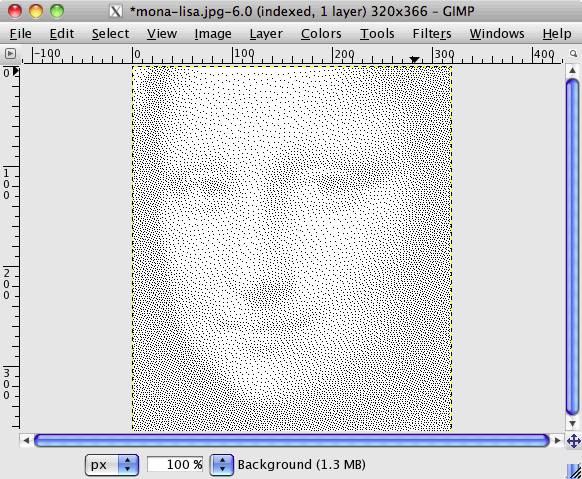
If you do not see individual stipples, or there are too many, or some regions just look like a gray cloud, then you probably have too many stipples. Go back to Step 2 and reduce the size of the image to 50 or 25% of its original size. Alternatively, you can wash the image out even more in Step 3. Or, try both. The image size may be reduced with the "Scale Image..." item of the "Image" drop down menu. Yet another technique is to boost the contrast of the image while it is still in grayscale. In the two side-by-side images below, the stippled image on the right has had its contrast increased by 50% prior to being stippled. To adjust contrast with Gimp, use the "Brightness-Contrast..." item of the "Colors" menu.

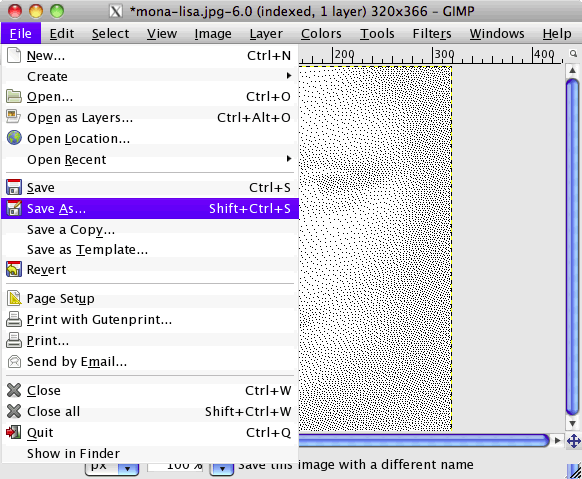
5. Save the stippled image as a PBM file
Once you are satisfied with your stippling effort, save your result in a new file. For use with the Python scripts described at Generating TSP art from a stippled image, you must save the stippled image using the PBM format (Portable Bit Map). This is easily achieved with Gimp. First, from the "File" menu select the "Save As..." item,
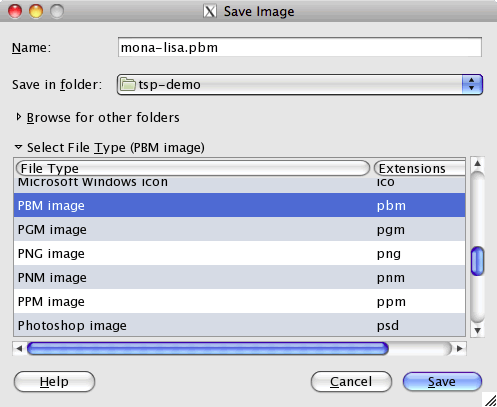
Once you have done that, you should see a "Save Image" window. Enter the name to save this new file as. But, before actually saving the file, you need to set the output format to PBM. In the "Save Image" window, click on the triangle to the right of the line "Select File Type",
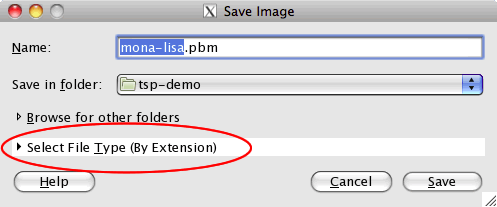
Scroll down in the list of file types and select the "PBM image" type,
Now, go ahead and click the "Save" button. You may be presented with a window with the title "Save as PNM". That's misleading but don't worry: a PBM file will be produced. You can select either "Raw" or "ASCII" as the data formatting: the TSP art scripts accept either. The raw format takes up much less space and is faster for the TSP art tools to load, so you might as well pick "Raw".
Note that if you simply type the file name with ".pbm" as the file's extension, then Gimp will automatically save the file as a PBM file. This is a shortcut to usin the "Select File Type" list.
6. Generate TSP art
With your PBM file in hand, you're ready to generate some TSP art!
<<< Obtaining a TSP solver || Producing a stippled image with Gimp (TSP art) || Generating TSP art from a stippled image >>>